Office of Sustainability
by Gideon Kinzie Hawver and the Office of Sustainability
Cycling plays an important role in our communities for providing clean, inexpensive and efficient transportation. Bikes don't just ease congestion on our roadways, they also offer a quick mode of transportation where cars cannot go at all - none of the construction on campus is planning on adding a street from the HUB to the Chemical Sciences building.
I could go on about the benefits of cycling, but the goal of this DIY article is to focus on just one: the inexpensive and accessible nature of maintaining and repairing your own bike.
Everyone who owns a bike should take advantage of how easy it is to fix a flat tire or a faulty brake. In an effort to promote this, the following article has been broken into 5 different sections covering some of the most common issues that any cyclist would encounter. Each section has a short description of the issue and links to external video resources that will walk you through the process of repairing or maintaining your ride yourself!
With this DIY guide, save some money and get familiar with your bike to improve the quality of your commute/exercise/next adventure!
Essentials:
If you’re thinking about working on your own bike, then you’re gonna need access to some tools. As a rule of thumb, you should always take a look at your bike before going out to purchase tools. While many bikes are created with similar components, this isn’t always the case. Most multi-tools will come with a safe range of tools that should cover all of the needs your bike could have, but you don’t want to find out that you’re short a tool or two when your bike needs an immediate fix.
Get familiar with the types of screwdrivers and sizes you may need, as well as any wrenches you may need for other components on your bike. This video covers a few basic essentials that any cyclist should have in their kit. The goal is to have the fewest number of tools that will allow you to tend to the largest number of jobs you might need to perform on your ride.
*It is worth noting that many of these tools will find good use in your life outside cycling - outside the odd specialty tool.
Tires:
This is the big one. Flat tires on your ride are the bane of cyclists 
When dealing with a flat tire, you have two options: patch or replace. Either way, you’re gonna need to get the wheel off and take a look.
Patching a flat tire is a great option if you don’t have access to a replacement tube (whether you’re in the middle of a ride or you have gone through your reserve of replacements at home). It’s usually a good idea to patch a tire a few times before giving up on it. If done properly, a patched tire can be just as good as a new tire, and it’s cheaper to patch a tire than it is to replace it outright.
But sometimes replacing a tube is your best option. If the tube in question is old and cracked, has a tear, or you have run out of patching materials, then you’re going to need to replace it completely.
Shifting:
The shift mechanisms on your bicycle can seem a lot more intimidating than they should. They are just as easy to work on as any of the other items on this list. You’ll know that you should adjust your your shifting if:
-
Your bike shifts when you don’t tell it to.
-
Your bike doesn’t shift when you do tell it to.
-
And sometimes when you hear constant noise/clicking while you ride.
It’s a good idea to periodically adjust your shifting as part of your regularly scheduled maintenance; but if you’re chasing a particular problem - such as the above three - then you can carefully turn your bike over and turn the pedals while its wheels are in the air. Doing this allows you to inspect the drivetrain with greater ease while the bike is stationary. The gear set attached to the pedals, towards the front of the bike, is managed by a mechanism called the front derailleur. Similarly, the gearset attached to the rear wheel is managed by a separate mechanism called the rear derailleur.
Once you’ve identified where the chain is misbehaving, or where the noise is coming from in your drivetrain, you can take steps towards correcting it. [click the links to see adjustment details]
Brakes:
The brakes on your bike play a crucial role in how you get around 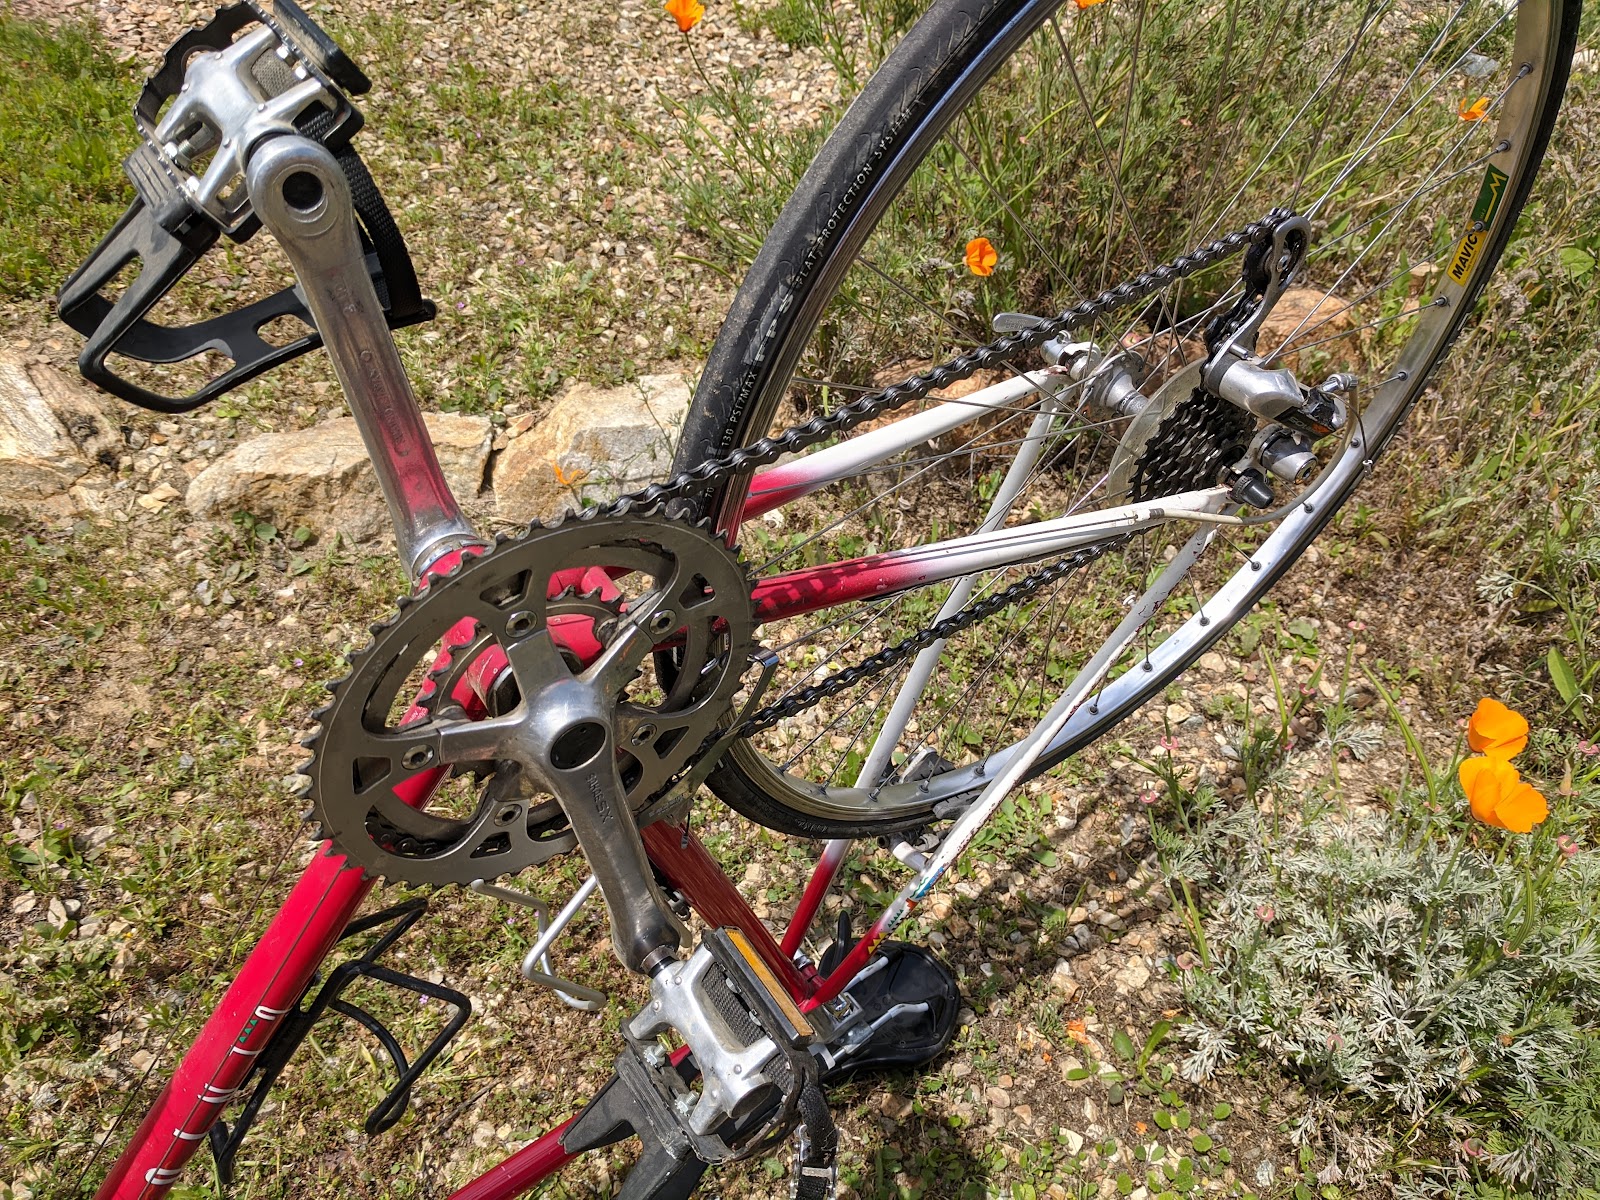
While there are a variety of different brake types in use across modern bicycles (displayed in the image to the right), each type uses the exact same basic principle to function: stop wheel motion by pinching it - or an attached component. Because of this, all cable operated bike brakes are relatively simple to install and adjust (sorry hydraulic brake enthusiasts); you just need to know which type you have. A quick trip to Wikipedia can give us a complete list of brake types used across bicycles through history and to date, but I have included a small list of the most common types that you might encounter below.
Side pull brakes (1) and Dual pivot brakes (2) are most commonly seen on road bikes because they tend to allow less clearance for smaller tires. Dual pivot brakes (3) and Linear pull brakes (4) are usually found on mountain bikes because they allow you to use much larger, wider tires. Finally, Disc brakes (5) can be found on a wide variety of bicycle types; and, while they are less common than the previous four, they are becoming increasingly popular.
Like shifting, the length of your cables plays a huge role in how you adjust your brakes. More slack in your cables translates to looser brakes, and more space between your brake pads and their contact surfaces. Less slack in your cables translates to tighter brakes, and less space between your brake pads and their contact surfaces.
Chain:

The chain on your bicycle doesn’t often get a lot of attention. It’s easy to forget about it, even though it is responsible for putting the power from your legs into the back wheel of your bike. It is important to keep the chain on your bike in good shape because it will make riding your bike easier and keep other components from breaking or wearing down faster.
Cleaning your chain is a great way to improve its function and lifespan. There isn’t a strict rule as to when you should do this, but I try to get this done on my own bike once a month. This won’t require any specialized tools, but you should get your hands on some degreaser and some chain lubricant. These two items will come in handy for any bike that you own and should last you a good while.
Over time, your chain will wear and stretch (yes, stretch!) which can cause problems shifting. Sometimes, you can combat this by removing a link or two in order to size your chain. Unfortunately, this is only a temporary fix, and you are well on your way to needing a chain replacement. Fortunately, replacing the chain on your bike is usually inexpensive. It is important to note that both sizing and replacing a chain on your bike will require a special tool, appropriately called a “chain tool” (Right).

Additional Resources:
If you’re interested in other resources for cyclists around campus then you should definitely check out the office of Transportation and Parking Services (TAPS). Their site contains a catalog of links to a host of information including: local shops, state and national cycling organizations, directions to services such as bicycle registration, and even information on local trails. As a cyclist at UCR, you should definitely take advantage of all that TAPS has to offer.
The Wrap:
And with that, you’re ready to tackle a host of mechanical problems that plague cyclists on a regular basis. I hope that these resources have been helpful, and that they have encouraged you to be more self reliant when you encounter issues with your bike.
Enjoy the ride!